New Update !!! haii back again ya SAYAA Kawann utntuk provides the latest posts from the blog ini.Nah for this time I will give a tutorial with links to the web server and here I use CentOS 7 to be made in the server.
Well before the start tutorial what the heck is the purpose of the web server ??
Webserver so it is a server that provides the service / service to a client connected, which is associated with the web.
Well to this I also use the Apache for the web server config on my CentOS. then what the heck apache ??
Apache web server is a name that is responsible for HTTP request-response and detailed logging information (usability basicnya). Additionally, Apache is also defined as a web server that is compact, modular, following the standard HTTP protocol, and of course very much
Now this is important before starting to Web Sever configuration stages we need to configure BIND, if not yet know how to open Postings 6.1 DOMAIN NAME SERVER (BIND)
if already in its BIND configuration on the new server deh gass to tutor.
TOPOLOGI
Well this topology that will be used.
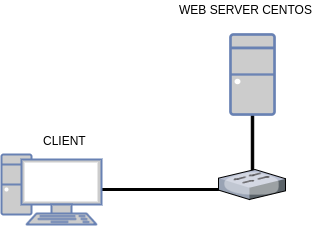
TABLE IP Address

1.INSTALL HTTPD
Okay now the first step in doing is install httpd server install command nya.Untuk HTTPD
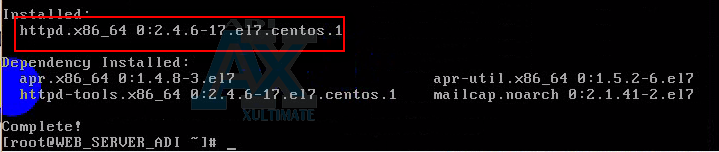
yum install httpd -y
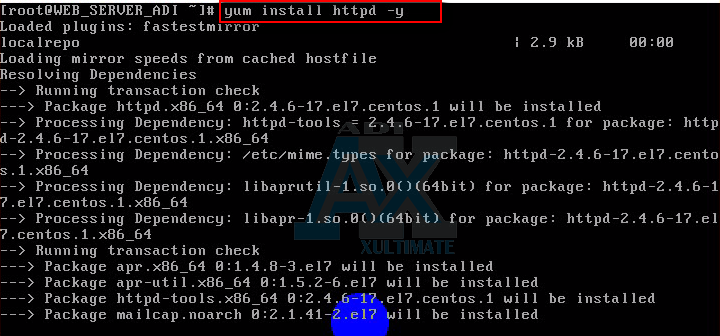
Then Wait samapai install process is complete.
2.Configuration hTTPD.CONF
Once installed httpdnya now go to config file "httpd.conf" Well to open and edit the contents of his file it separately Commadnnya
nano/etc/httpd/conf/httpd.conf
A.Server Admin
Then that should be the fox that is content with its Admin Server root@firman.net (for adamin server can be replaced according to your wishes and to adjust domain with your domain as well.)

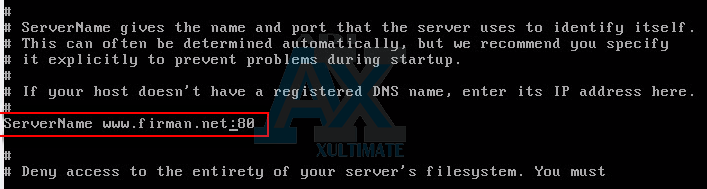
Next is ServerName nahh initially NameServer Disable this condition is no sign of a fence in front of scrip example:
Before
#ServerName www.example.com:80After
ServerName www.firman.com:80
Well 80 is what? yaiu dalah default port for http.
C.Directory
Selanjutny is to enable default Directory / var / www nah what changed ?? that is on the
AllowOverride change becomes All

D.Directory Index
Furthermore menambhaknan file format that can be indexed, defultnya index.html only. Well karenan later sayan will also add .cgi and .php then it should be added " index.cgi index.php as index.html

E.Restart httpd
Well after all the save in the configuration file. and that all configurations can be directly running the restarted first service httpdnya then so that when a new server can immediately turn on the service httpdnya running then enable service httpdnya
systemctl restart httpd
systemctl enable httpd

F.Menambahkan Service on firewall
Selanjunya is adding service on the firewall, now to add a service on the firewall command in use
firewall-cmd --pemanent --add-service = httpthen reload / restart firewall
firewall-cmd --reload

3.Akses web (unfinished)
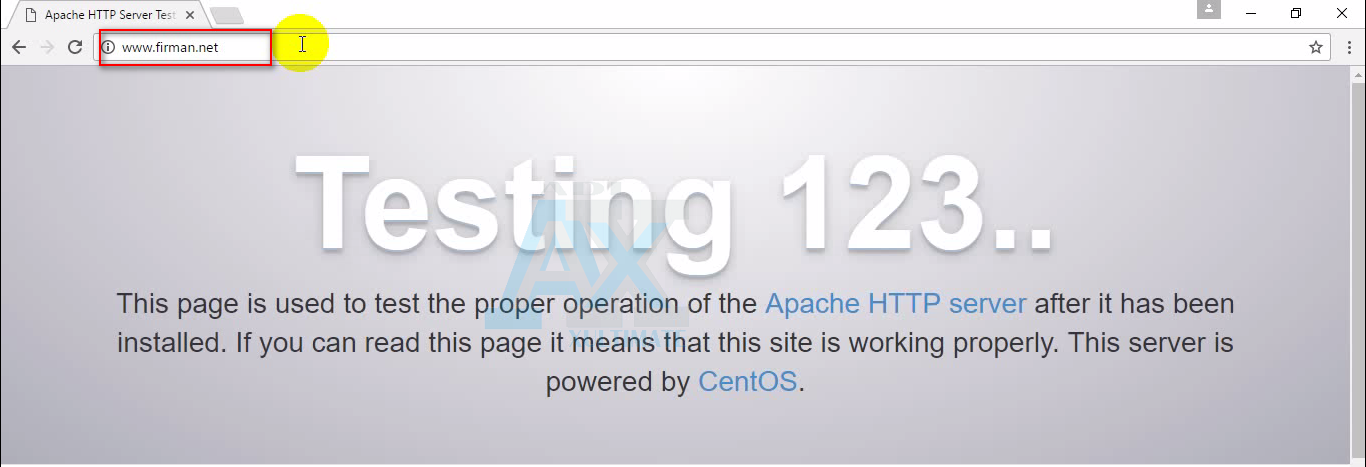
Well, if all of the configuration is finished we already can either try aksess access to its web and its web in a browser. Danhasilnya will appear as in the image below this month.I'll below is the default web view welcom httpd / apache nah therefore we must mengeit see its laneways.
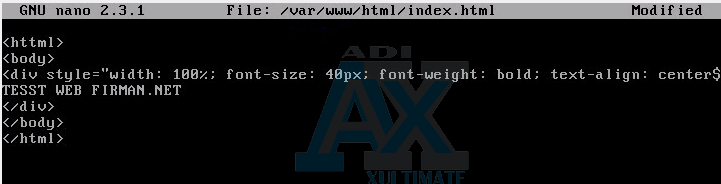
5. Make File Index.html
Selanjuntnya to add views to its web index.htmlnya then create a file in the folder / var / www / html /
nahh separately command in gunkan is
nano /var/www/html/index.html
HTML script 6.Menambahakan
Selanjuttnya is add html to display its scrip and then save the file.
web 7.Akses
And now try to access the web back in the browser, as shown in the picture below, and you ..

Okay Maybe Enough Tutorial me this time, and more or less apologize Do not forget to keep watching / reading my post tebaru okee.
bye:v
